BoothVault guide
Everything, from first card to closed-out show
This page covers the whole product. Skim the list below and jump to what you need, or read top to bottom the night before your first show. Stuck on something this page does not answer? Email hello@boothvault.io and a human reads it.
1. Set up your booth
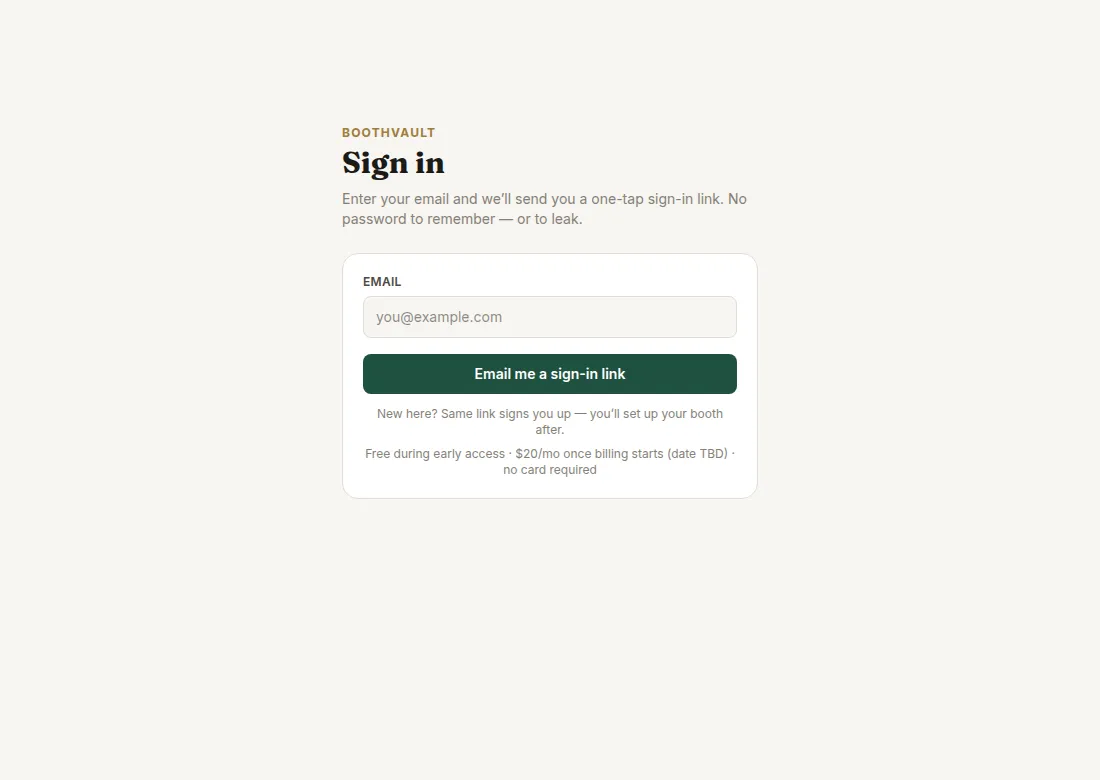
Go to the sign-in page and enter your email. We send a one-tap sign-in link, so there is no password to remember or leak. First time in, you pick your name and your booth name, and choose whether you mostly sell at shows or run them. That choice sets up your workspace; you can use both sides either way.
Your booth name is what buyers see on your public pages, so use the name people know you by at shows.
2. Add your first cards
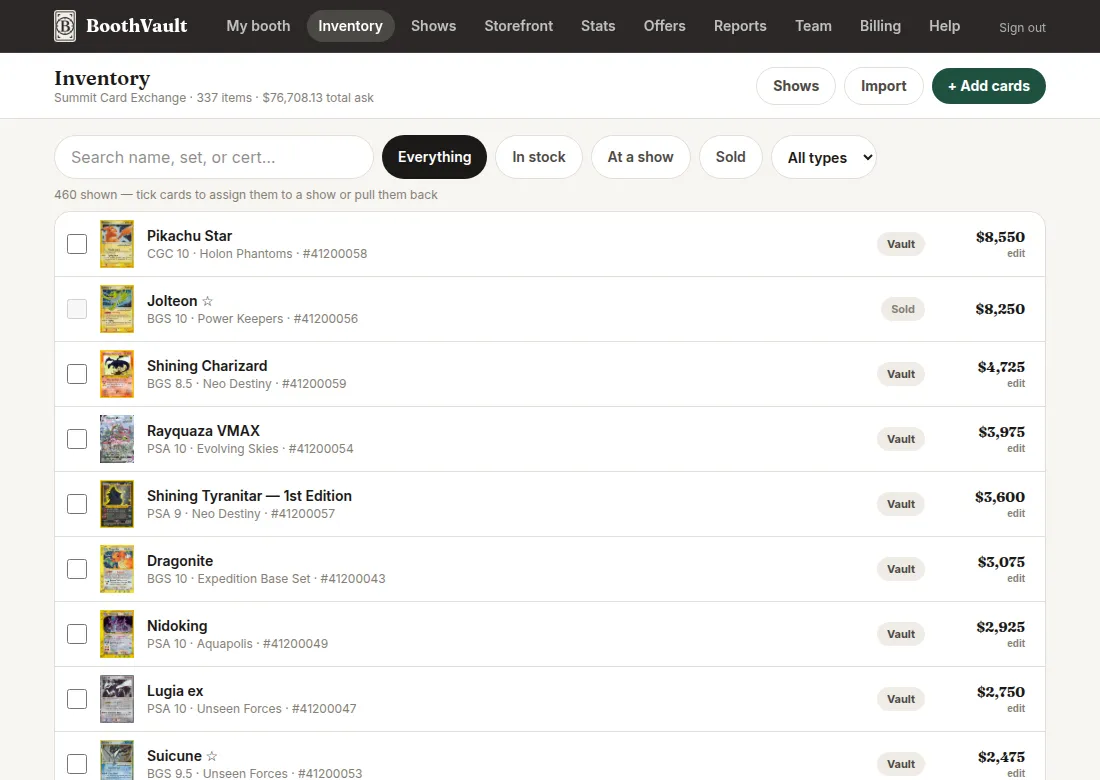
Open Inventory and hit Add cards. Search by card name, pick the exact printing from the catalog (23,000+ English cards and 4,700 sealed products), and the current market price loads next to it. You set your asking price and an optional floor, the lowest number you would take.
- Raw cards: pick a condition and go.
- Graded slabs: switch to graded, pick the grader and grade, add the cert number. Graded comps show up while you price it.
- Sealed: boxes, ETBs, and cases are in the catalog with live prices too.
- You can snap a photo of the actual card during add, buyers see your photo first.
3. Import a whole collection
Nobody types in 800 cards. Inventory → Import takes three formats:
- Any spreadsheet (CSV). Export from whatever you track in now. We match your columns automatically and show you a preview before anything is saved. Rows without a price are skipped and listed, we never import a card at $0.
- TCGplayer seller export. Works as-is, including their quirks.
- Collectr. Open your showcase, scroll to load every card, print the page to a PDF (Ctrl+P or ⌘+P, then Save as PDF), and upload that file. If your printout is slabs, tick the graded box in the preview and confirm each grade before committing.
Every import shows a match preview first. Cards we cannot match with certainty are listed for you to resolve, we would rather ask than guess wrong.
4. Pricing and auto-pricing
Every card carries three numbers. The market price updates daily from live sales data. Your price is what buyers see. Your floor is private and marks the least you would take, offers below it get flagged so you never accept one by accident.
Turn on auto-pricing per card and your price tracks the market at a ratio you choose, say 95% of market, and never drops below your floor. Sudden market spikes are held for your review instead of silently repricing your table.
5. Shows
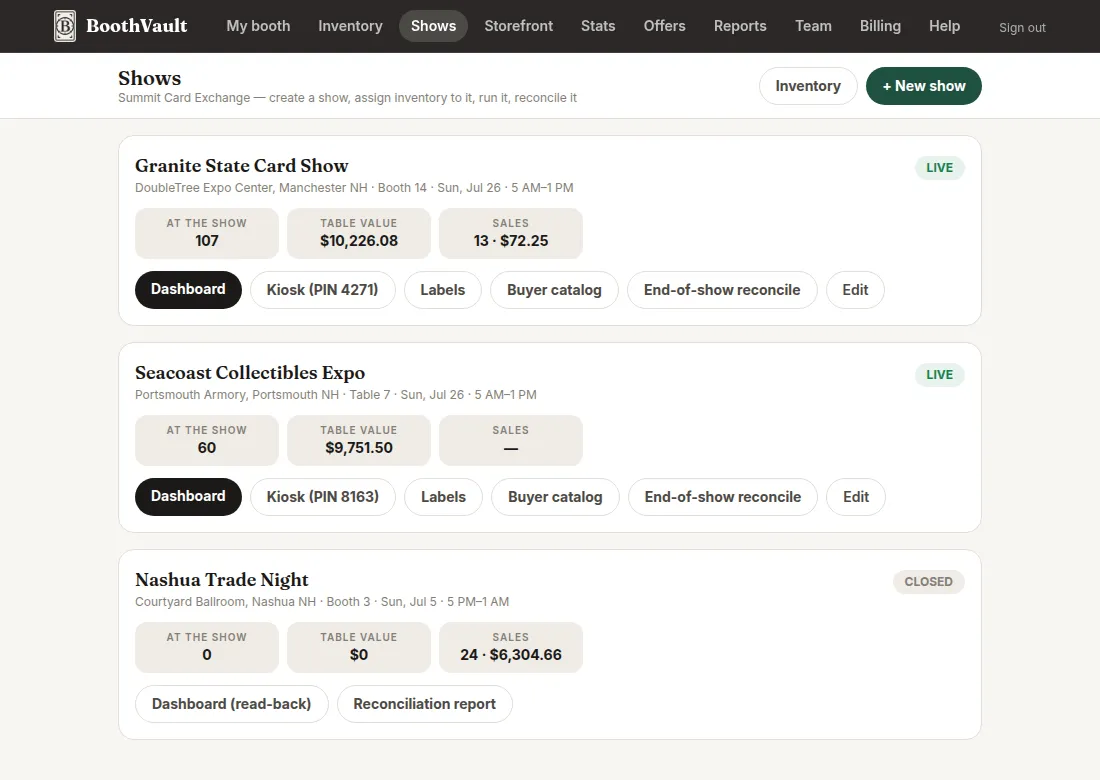
Create a show with its dates and venue, or search and join one another vendor or an organizer already listed, so the venue and dates stay in one place. If the organizer moves the show, your booth follows automatically. Each show has a kiosk PIN you hand to helpers for checkout without giving them your account.
6. Pack for a show
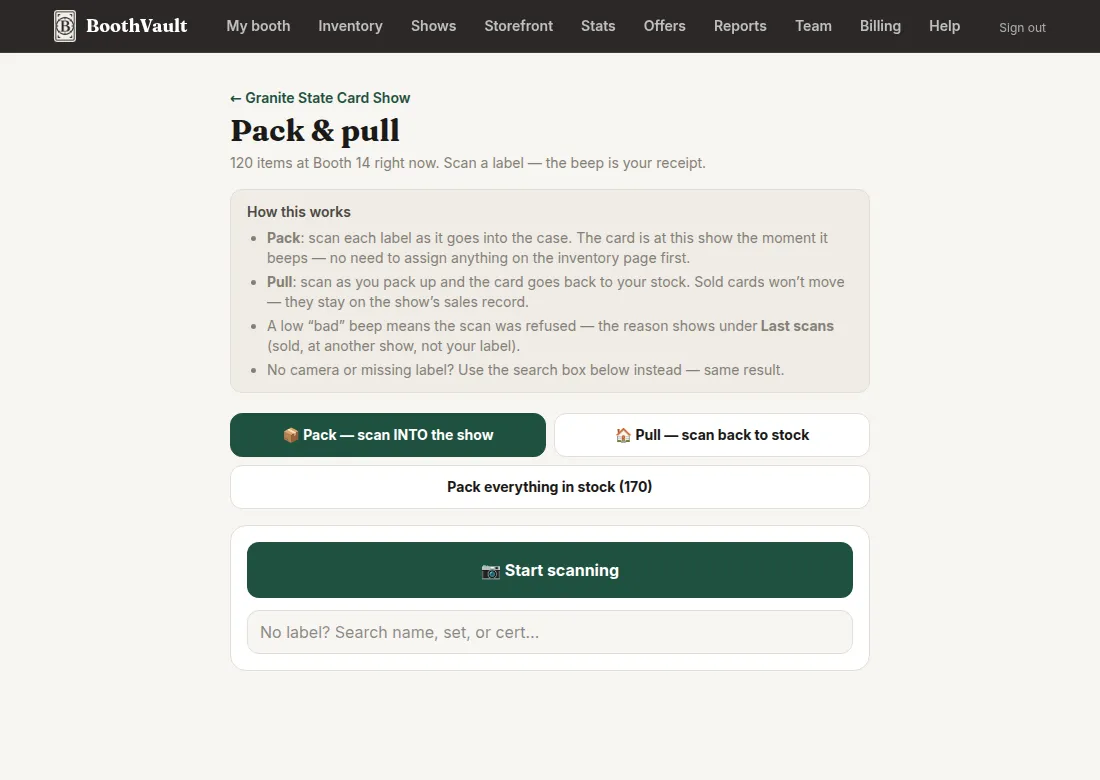
Open the show and hit Pack. Scan each card's QR as it goes into the case, you get a beep per scan and a running count. Pull works the same in reverse when something comes back out. A card can never be packed at two open shows at once, so double-booking a slab is impossible.
7. Selling at the show
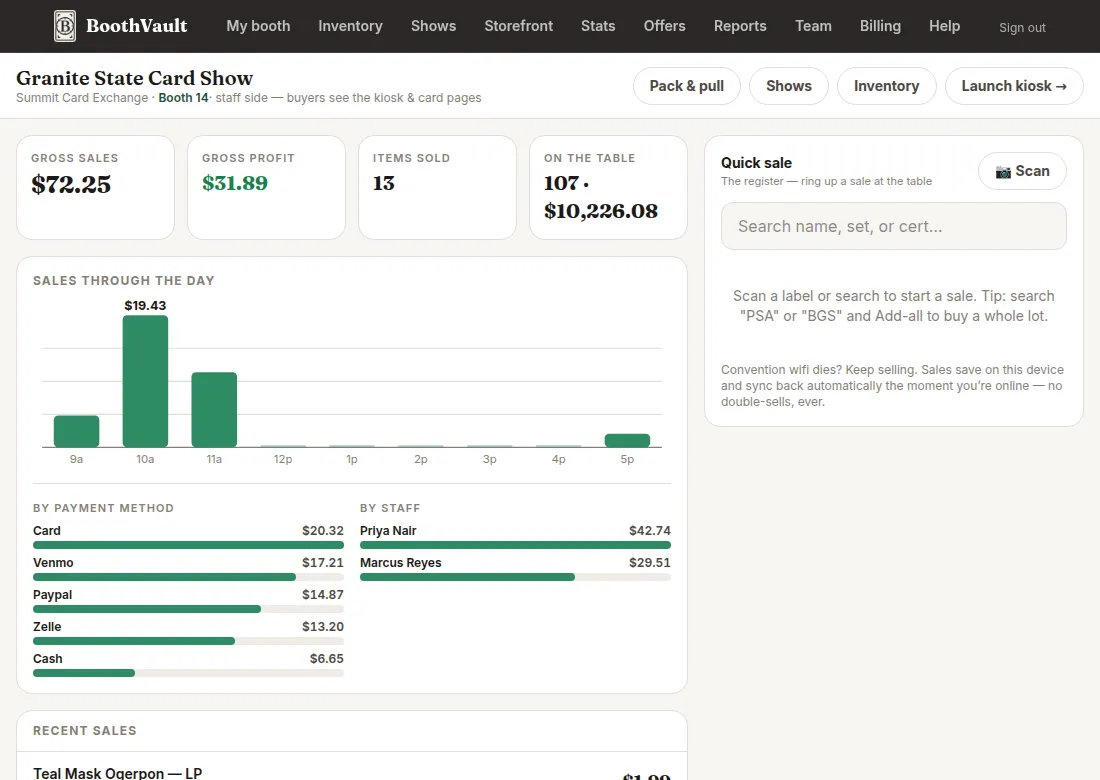
Every card gets a QR code. A buyer scans it and sees the card, your price, and the live market number, which does the haggling for you. You ring the sale on your phone in about five seconds.
Convention wifi is bad everywhere. Sales you ring while offline queue on your phone and sync themselves when the signal comes back. The queue is visible, nothing vanishes, and a sale that conflicts (say the card already sold on your partner's phone) lands in an attention list for a one-tap fix instead of blocking your line.
Selling away from a show. Plenty of cards move in a Facebook comment or a group chat, nowhere near a table. Tick those cards in Inventory and hit Mark as sold. Each one starts at your asking price and you can edit any of them, or set the whole lot to a percentage of asking in one go — handy when someone offers 87% for the pile. It records the same way a show sale does, and shows up in Reports under “Away from shows”, so your show takings stay a true picture of what you sold at that show.
Rule of thumb: if you sold it at the table, ring it on the show screen. If you sold it anywhere else, mark it sold from Inventory. Either way it lands in the same books.
8. After the show
Reconciliation answers one question the night of the show: is everything accounted for? Scan every card still in the case, the sold ones check themselves off, and whatever is left is a short list of missing cards while the memory is fresh, not a mystery at tax time. Scanning resolves on your phone instantly and syncs in the background, so it works at full speed on the venue floor.
9. Your storefront
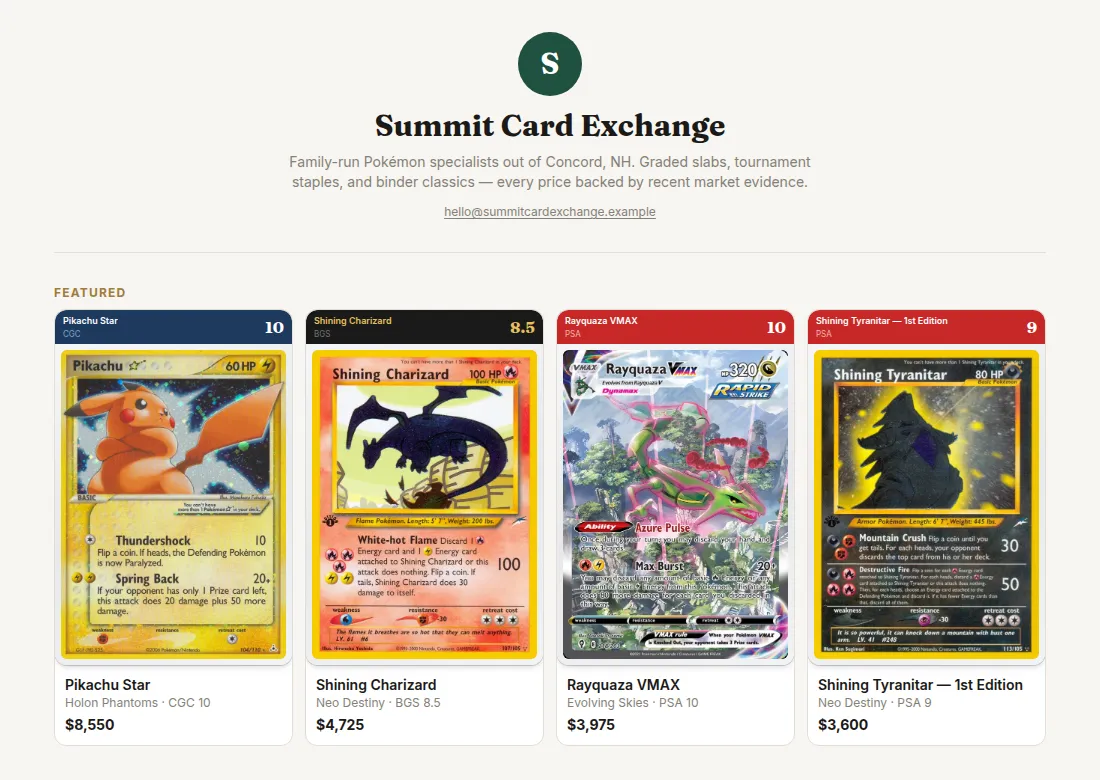
Your booth has a public page with your logo, colors, socials, upcoming shows, and your in-stock inventory with live prices. Share it between shows, buyers can browse and send offers while you sleep. It is also a real web page Google indexes, so people searching your booth name find you, not just your Instagram.
10. Offers
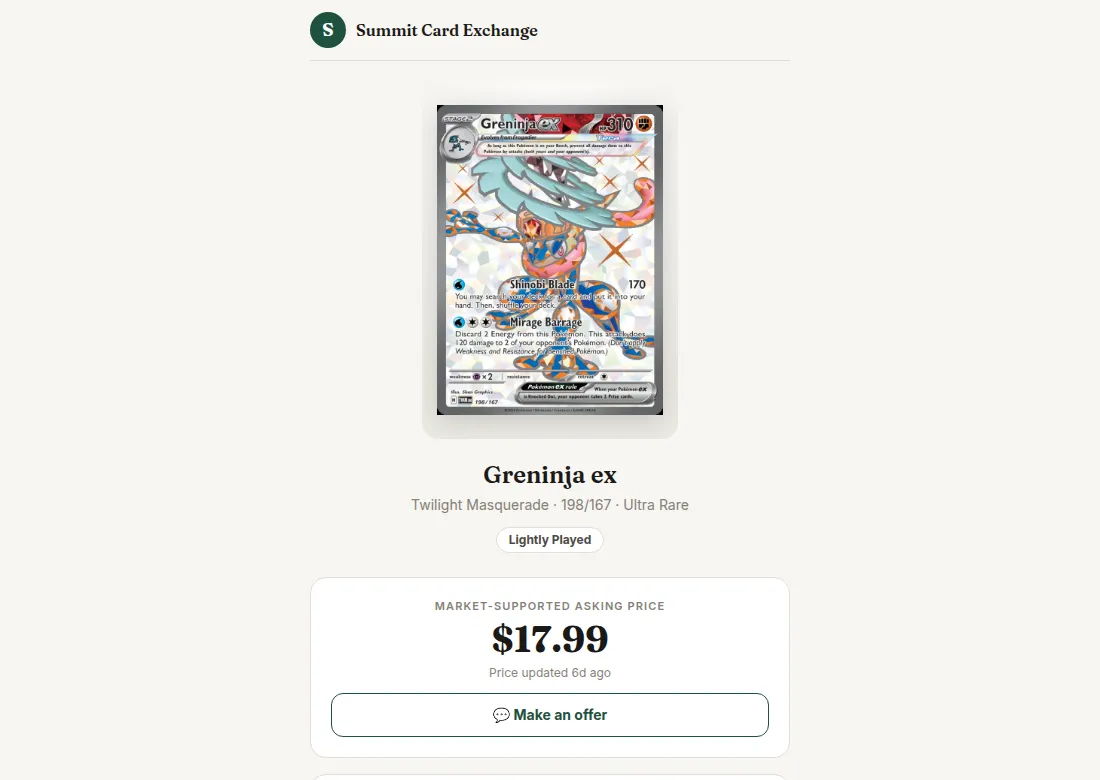
Buyers can make an offer on any card from its public page. You get an email, and your offers inbox shows each one with a simple mark for whether it clears your floor, the floor number itself stays private. Accept, counter, or decline, the buyer gets an email each way, and accepting sends them your payment handles.
11. Your team
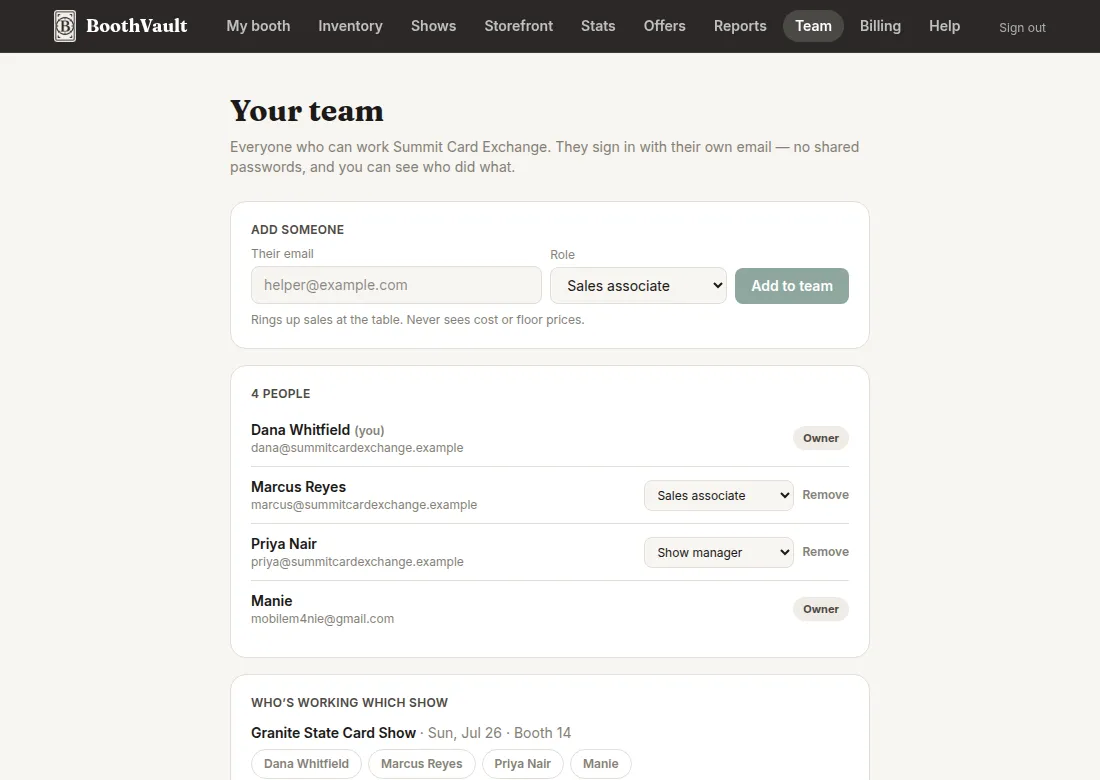
Invite people by email from the Team page and give each a role. The one that matters most: a sales associate can ring sales all day but never sees your cost or your floor, on any screen. That privacy is enforced on the server, not hidden in the app, so it holds even if someone is curious with browser tools. Per-show crew toggles control who works which table.
12. Stats and reports
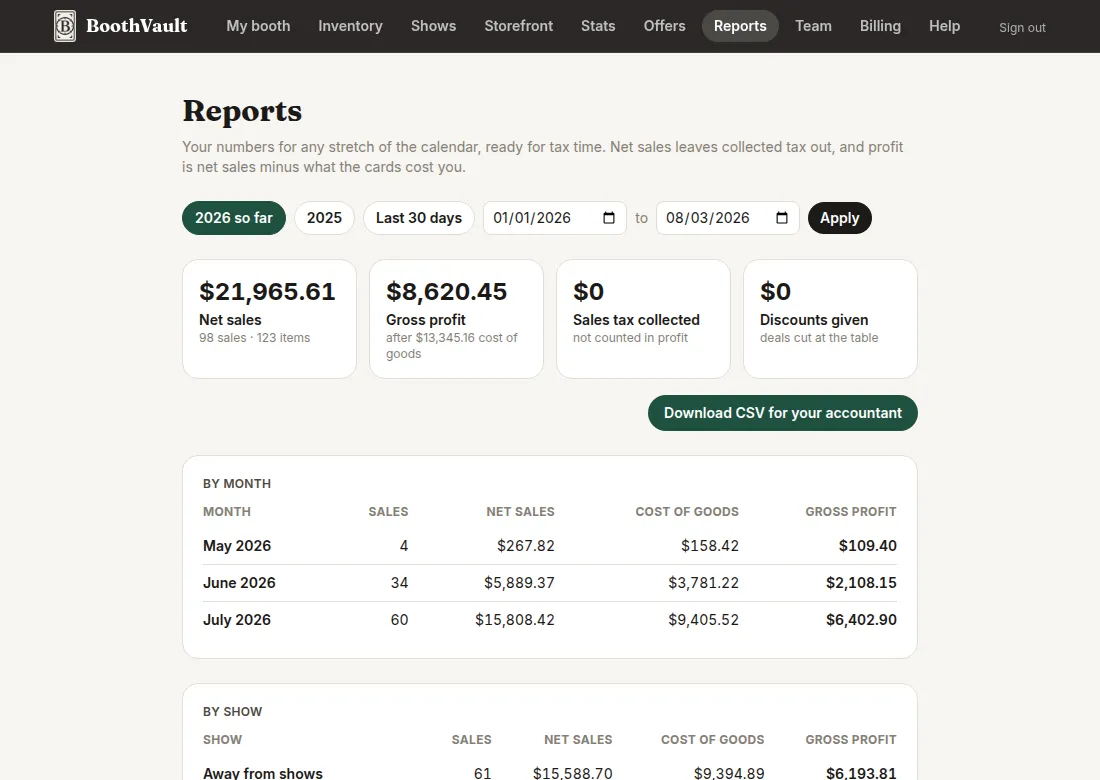
Stats shows your week, your trends, and your most-viewed cards. Reports is the accountant page: pick a date range and get net sales, cost of goods, profit, and tax collected, by month, by show, and by payment method, with refunds handled honestly. Tax time is a CSV download.
13. Billing and referrals
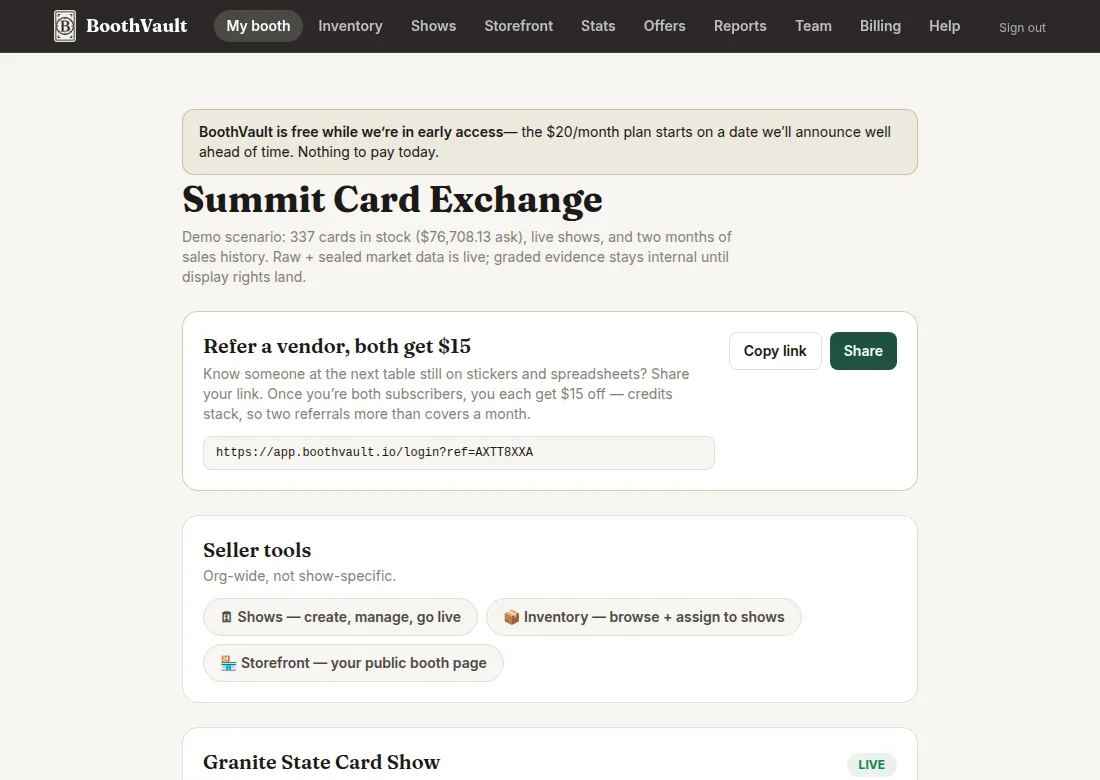
BoothVault is free during early access. When billing starts (we will announce the date ahead of time), the plan is $20 a month, flat, everything included. Refer another vendor and you both get $15 off once they are a paying subscriber, there is no cap, ten paying referrals is $150 of credit. Your referral link is on your dashboard.
14. Install it as an app
BoothVault runs like an app straight from your phone, no app store needed. Open app.boothvault.io in your browser, then:
- iPhone: tap the Share button, then Add to Home Screen.
- Android: tap the menu (⋮), then Add to home screen.
You get a real icon, a full-screen launch straight into your booth, and the offline sales queue keeps ringing sales when the venue wifi dies. On phones the main pages are on tabs along the bottom of the screen.
Did this page miss something you needed? Tell us at hello@boothvault.io and we will add it. Requests from working vendors are how this product gets built.